
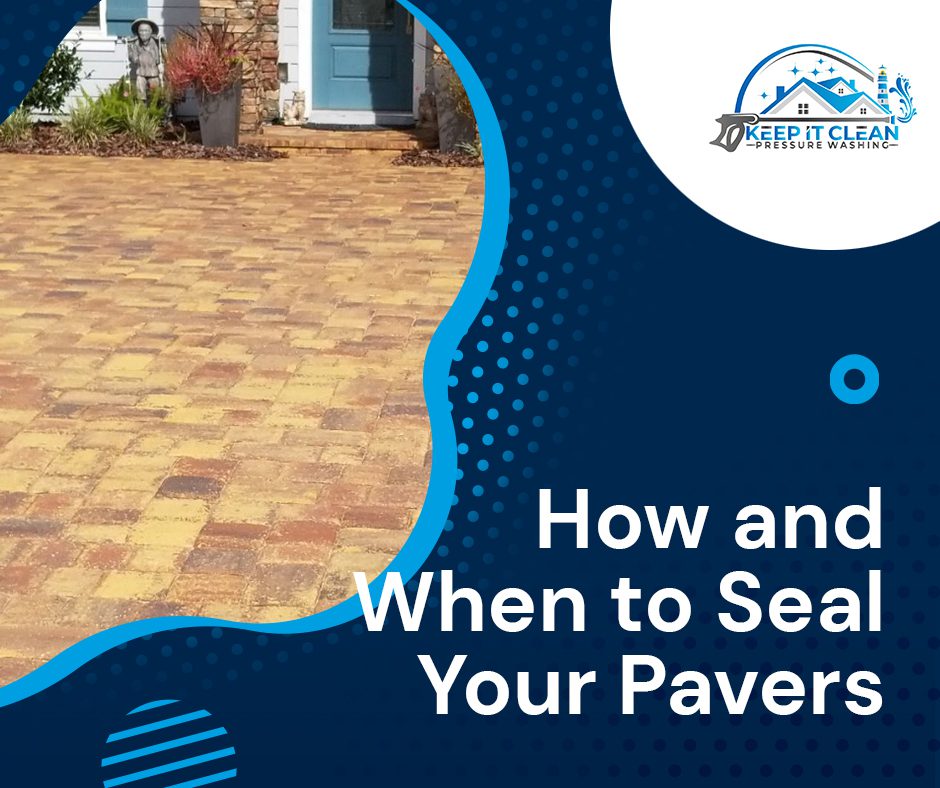
Sealing your pavers is an important step in protecting them from the elements and ensuring they look their best for years to come. But many of our customers have run into problems and have asked not only how to seal pavers but when to do it too. Well, here is everything you need to know about how and when to seal your pavers.

Why seal pavers?
Sealing your pavers is an important part of the long-term care for your investment. By sealing them, you are essentially creating an invisible barrier between your pavers and the outside world. This will protect them from things like:
- Staining
- Fading
- Mold and mildew growth
- Erosion
- Water penetration
All of these elements can take a toll on the appearance of your pavers and, if left untreated, can actually lead to premature deterioration. Sealing your pavers is an easy way to protect them and keep them looking like new. Additionally, sealed pavers are much easier to clean which again will help you protect them for the long term.
Steps to Seal Pavers
There are a number of important steps you’ll need to take in order to seal your pavers correctly. Here’s a quick overview:
Pick paver sealing supplies
Before you begin work, it’s important that you have the right supplies.
- A sprayer: this is perhaps the most efficient way to evenly apply a sealer as it’s both quick and accurate.
- Spray Shield: This is a must have as it will protect surrounding surfaces from unwanted overspray.
- Power Washer: You’ll want to use a pressure washer as it’s the most effective way to properly clean the surface of your pavers before you begin the sealing process.
- Blower: This will help you remove any loose debris or dirt from the surface of your pavers.
- Solvent Sealer: For the best results, you’ll want to go with a penetrating solvent sealer.
The Best Solvent Sealer
We typically recommend a good, penetrating solvent sealer as these provide impeccable protection without compromising the look of your pavers. These tend to be the higher end choice in comparison to the more economical, but not quite as good, acrylic sealers.
Wash Pavers
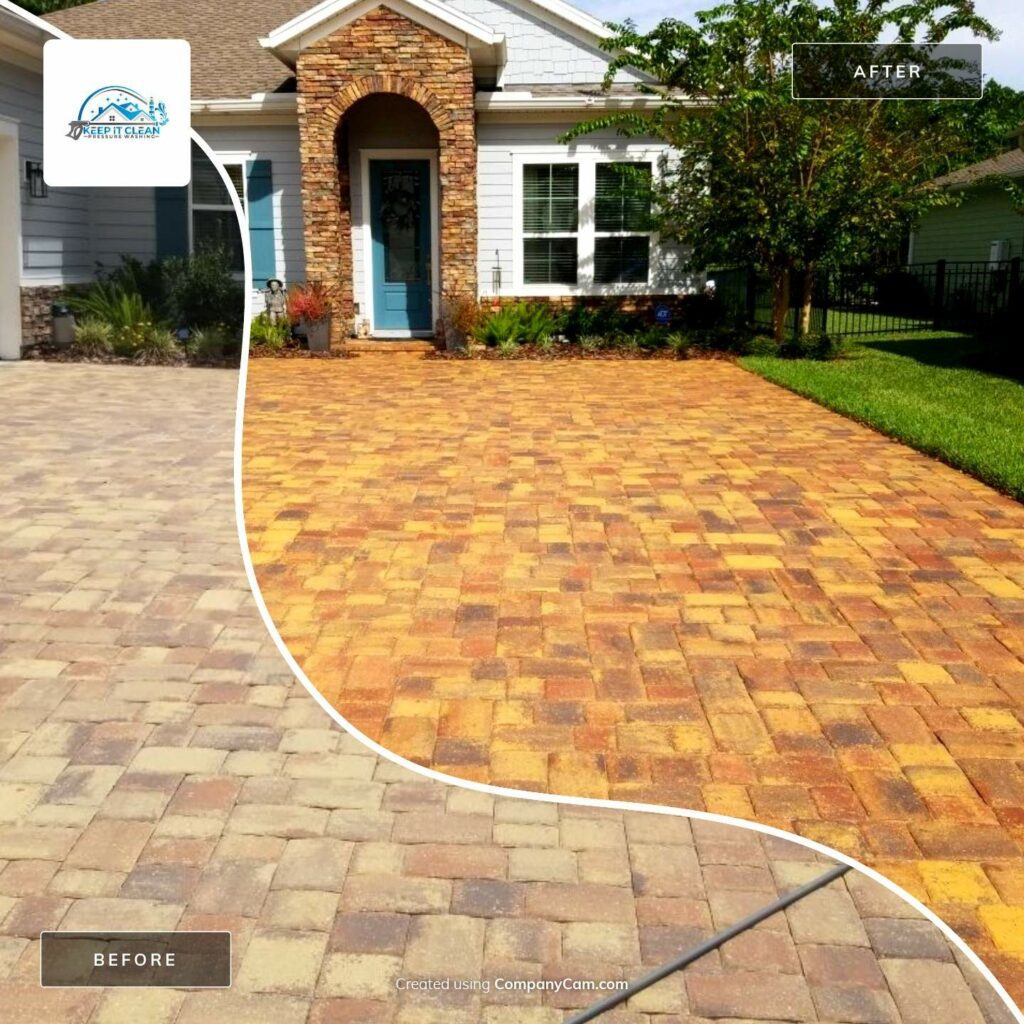
Once you have all your supplies, the first thing you need to do is clean your pavers. The best way to do this is with a pressure washer as it will remove any dirt, debris, or stains that may be on the surface of your pavers. By thoroughly cleaning your pavers beforehand, you allow for the best possible conditions for the sealer to adhere and achieve optimal results.
At this stage you can also choose to apply a pre-sealant which will help open the pores of your pavers to better allow the absorption of the paver sealing.
Allow Pavers to Dry
Once washed, you’ll want the pavers to be completely dry before moving on to the next step. The best way to do this is to wait at least 24 hours, or until the pavers are no longer wet to the touch (though in hotter, dryer climates this may only take a few hours).
Level Pavers
This step is incredibly important as you want to make sure the surface of your pavers is as level as possible. Any unevenness will result in an uneven seal which can be unsightly and also lead to premature deterioration.
This process is highly detailed and can easily go wrong if you don’t know what you are doing. Typically, we would recommend you use a professional unless you have experience with this line of work.
Re-sand the Joints
If you’re sealing pavers to hard joint sand, then it’s vital that the joints are filled with clean, dry, ASTM C144 standard joint sand. The surface of the joint sand should not exceed the bottom of the slope or 1/8” below the surface of your paver. This will ensure a nice, even seal. You’ll want to compact the sand to avoid any gaps as well as use your blower to remove any loose debris.
Apply Sealer
Now for the main event, it’s time to apply the sealer. Make sure you read the instructions on your chosen solvent sealer as some require mixing before application while others do not.
You’ll want to begin in a small, inconspicuous area first to ensure you’re happy with the results before moving on. Once you’ve given it a test run, you can move on to applying the solvent sealer evenly across the surface of your pavers.
You’ll want to use long, even strokes and avoid going over any areas multiple times as this could result in an uneven finish.
Once you have applied the first layer of sealant, you’ll want to let it dry for a couple hours before you apply your second coat.
If you are in any doubt about DIY paver sealing, then it’s a good idea to work with a professional. Get in touch with us today to see how we can help you achieve the perfect finish for your pavers.
Wait to Dry
Finally, you’ll want to wait for the sealer to dry completely before walking or driving on your pavers. Depending on the temperature and humidity, this can take anywhere from a few hours to a full day.
When is the best time to seal pavers?
It’s important not to seal your pavers right away because you need to allow time for the natural salt and minerals to be released. For that reason, we recommend waiting at least 6 months before applying any paver sealing.
Does this process apply to patio pavers?
Yes, this also applies to sealing patio pavers. The main issues of sealing pavers is largely universal and a failure to do so can result in expensive damage and structural issues.
Should all concrete pavers be sealed?
Absolutely! All concrete pavers should be sealed in order to protect them from the elements and ensure they last for many years. Most people think of concrete as a tough, solid material but in reality it’s quite porous and susceptible to water damage. Sealing your concrete pavers is just as vital.
When to call a professional to seal your pavers?
Pavers are a fantastic addition to any property but, like all things, they do require some upkeep. Sealing your pavers is a tricky and detailed process that can be very expensive to fix when you get it wrong. That’s why it’s a good idea to work with a professional if you aren’t 100% certain of how to seal pavers.
If you’re thinking about getting your pavers sealed, then get in touch with Keep it Clean Florida today for a 100% free estimate.